| What You Are Teaching | Busy UI Zones to Avoid | Best Default PiP Corner |
|---|---|---|
| iOS apps with bottom tab bars | Bottom navigation + top-right action button | Middle-right or upper-left after header |
| Mobile Safari / web checkouts | Bottom address bar + sticky cart button | Top-right |
| Desktop code editors (VS Code / Xcode) | Left file tree + top tab bar + bottom terminal | Bottom-right |
| Slide decks & keynote walkthroughs | Left-aligned titles and bullet body | Bottom-right margin designed in slide template |
Scale for a Thumbnail, Not a Full-Screen Portrait
On a viewer's phone, a Picture-in-Picture overlay is often narrower than a postage stamp. Sitting three feet back from your iPad or MacBook turns your face into a tiny dot surrounded by ceiling and bookshelves.
Move the device closer—roughly arm's length on iPhone, or prop your laptop on a stand—so your head and upper shoulders occupy most of the frame. Subtle nods and expressions read effortlessly even at 660p.
Fixing the 'Looking Down at the Keyboard' Angle
When an iPhone rests flat on a desk while you tap it, the front camera shoots straight up at your chin and ceiling lights. Instead, hold the phone at chest-to-chin height tilted toward your face, or mount it on a small desk stand angled at eye level.
At the start and end of your take—and whenever you deliver your main takeaway—glance directly at the physical camera dot rather than at your own preview bubble.
Choreographing Corner Moves Before Dense Screens
Before recording, walk through the three busiest screens in your demo without recording. Notice if a dropdown menu, keyboard popup, or toast banner collides with your chosen corner.
Whenever the iOS on-screen keyboard slides up, bottom corners immediately collide with typing suggestions—park your PiP bubble in an upper corner before tapping any text field.
Pre-Recording Checklist
Tick items before you start your broadcast—saved locally in your browser.
Common Questions
Should I use front or back camera for tutorials?
Use the front camera when speaking directly to viewers while operating the screen; switch to the back camera when demonstrating physical hardware, sketches, or desk setups alongside digital controls.
How big should the facecam be during a technical demo?
Keep the overlay compact while showing dense settings or code, and let your voice carry the detail—viewers need crisp UI legibility first and presenter presence second.
Next Workflows to Read
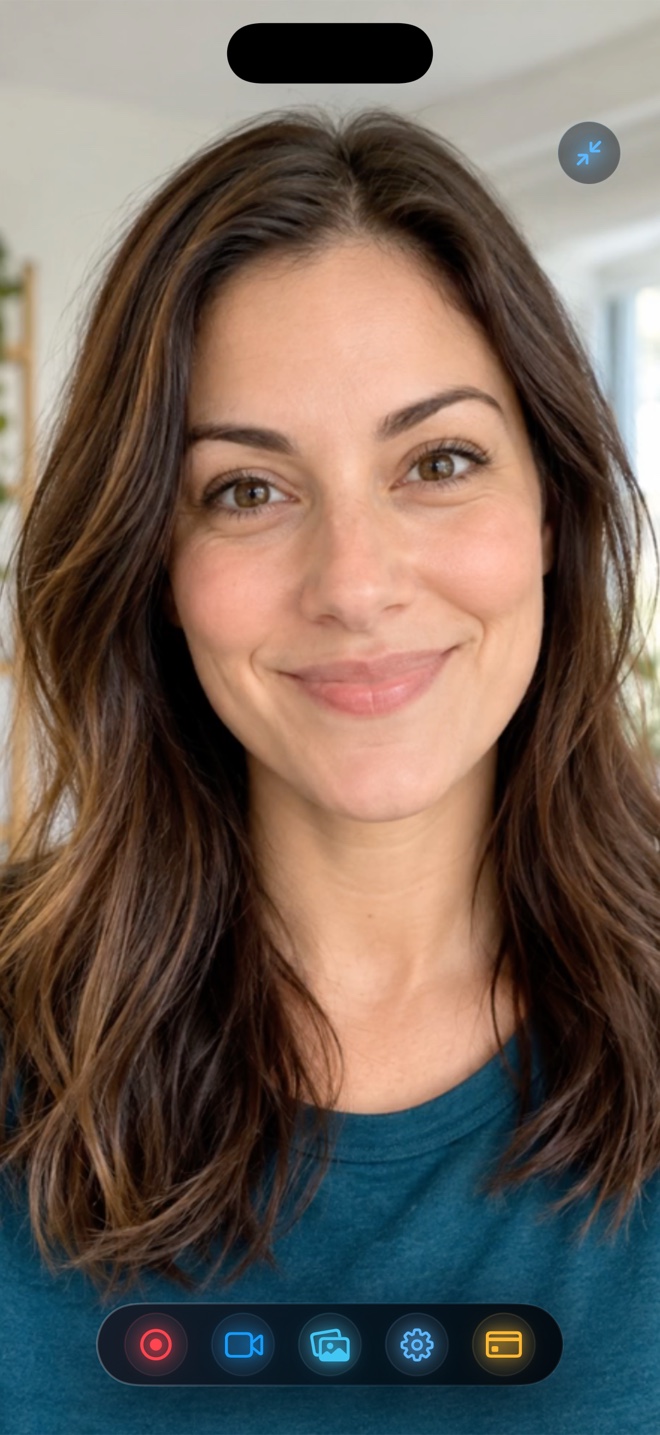
Blurring, Removing, or Replacing Your Camera Background in Tutorials
Hide messy rooms when recording tutorials on iPhone, iPad, or Mac. Understand on-device person segmentation, blur vs custom backdrops, and Picture-in-Picture background modes.
Read workflow guide →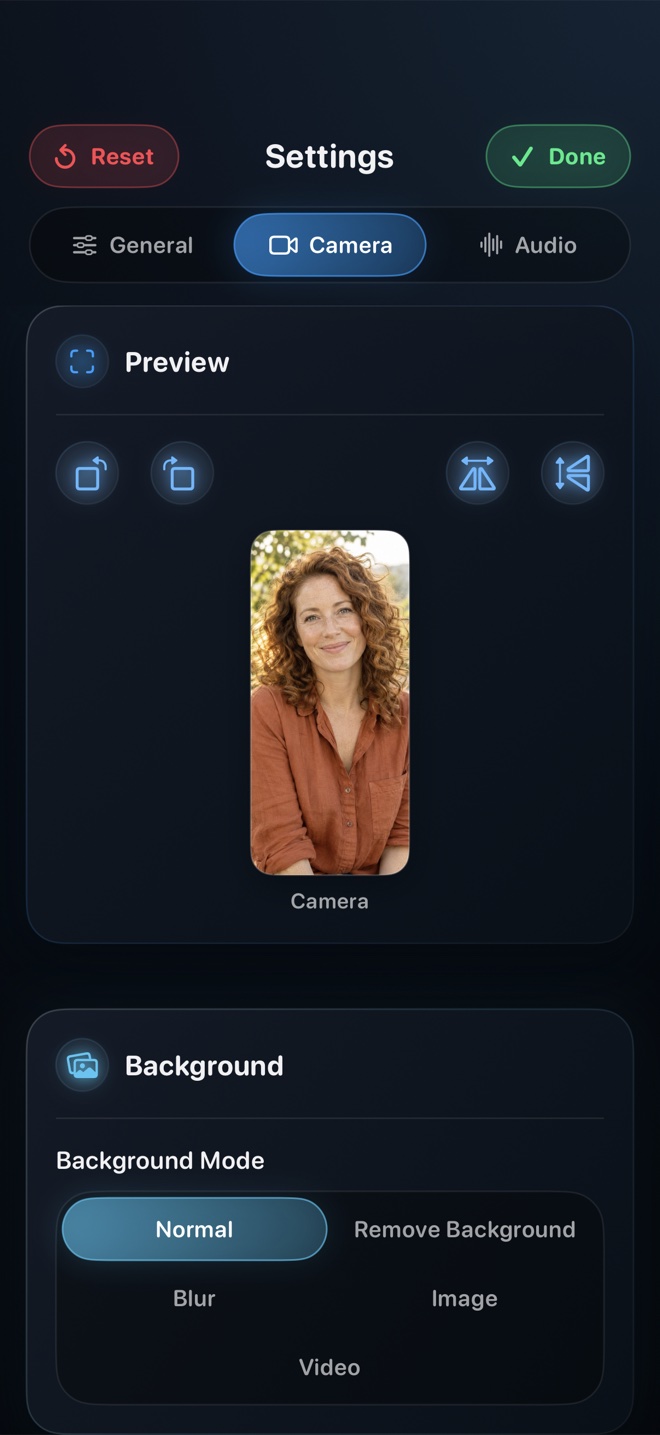
Locking Portrait or Landscape Orientation for Reels, Shorts, and App Walkthroughs
Prevent sideways videos and black pillarbox bars when recording vertical Reels/Shorts or widescreen landscape games on iPhone and iPad.
Read workflow guide →