
| Capability | macOS Cmd+Shift+5 | Reel on Mac |
|---|---|---|
| Webcam presenter overlay | Requires QuickTime workaround that records all UI | Composited directly into exported video |
| Hide recorder control window | Manual trim at start/end | Option to exclude Reel's main app window while keeping camera |
| Output container & codec | QuickTime .mov | Standard H.264 inside .mp4 |
| Frame rate preference | System automatic | Selectable 30, 60, or 120 fps preference on Mac |
How Display Capture and Camera Compositing Work on Mac
On macOS, Reel uses Apple's modern capture pipeline to record a chosen display while compositing your floating camera feed directly into the output movie. Crucially, you can exclude Reel's own main control window from the display filter while retaining your presenter camera in the finished recording.
Notice one subtle detail before you record: because the floating camera is composited into the recording pipeline directly, dragging the camera preview onto a second monitor is not the way to turn it off—use Reel's camera toggle when you want a screen-only take.
Preparing a Clutter-Free Mac Desktop
Viewers watching a 16:10 MacBook display on a laptop or phone notice every stray desktop file and Slack badge. Run through four quick steps before hitting Record:
- Hide desktop icons (or enable macOS Stage Manager / clean wallpaper) and quit background chat apps completely rather than relying on mute.
- Set your browser or IDE zoom to 110–125% so code, menus, and spreadsheet formulas stay legible even when watched at 720p or 1080p.
- In Reel on Mac, choose your target display, enable excluding Reel's control window, and pick your preferred frame rate (30 fps for slide/code talks, 60 fps for UI motion, or 120 fps preference on ProMotion displays).
- Check Audio levels so macOS system playback sits cleanly below your external USB/XLR or MacBook Studio mic.
Choosing 30, 60, or 120 FPS Wisely
Macs expose a 30 / 60 / 120 fps recording preference inside Reel Settings. Higher frame rates make scrolling timelines and animation demos look fluid, but they also multiply encoder load and file size—and actual delivered frame rate always depends on display refresh rate and system load.
For coding walkthroughs, product onboarding, and customer support replies, 30 or 60 fps produces crisp H.264 MP4 files that upload in seconds to Linear, GitHub PRs, Notion, or Loom alternatives.
Pre-Recording Checklist
Tick items before you start your broadcast—saved locally in your browser.
Common Questions
What video format does Reel save on Mac?
On macOS, Reel writes H.264 video inside an `.mp4` container—ready to drag directly into browsers, Slack, GitHub issues, Premiere, or Final Cut without transcoding.
Can I record an external monitor connected to my MacBook?
Yes. Reel's Mac display selector lets you pick which connected display to capture while keeping your notes or script open on the other screen.
Next Workflows to Read
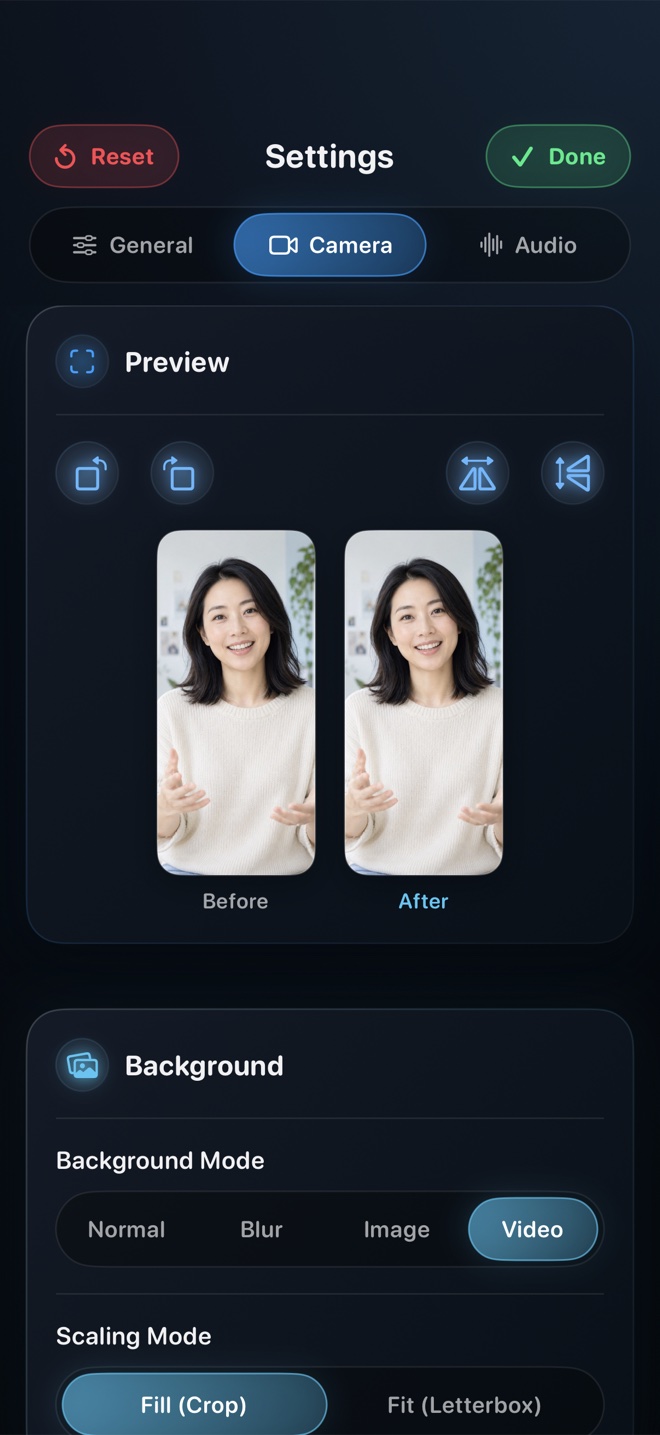
Framing a Picture-in-Picture Presenter Overlay That Never Blocks the Action
Practical layout, eye-line, lighting, and corner-choreography rules so your Picture-in-Picture facecam adds trust to screen tutorials without hiding key buttons.
Read workflow guide →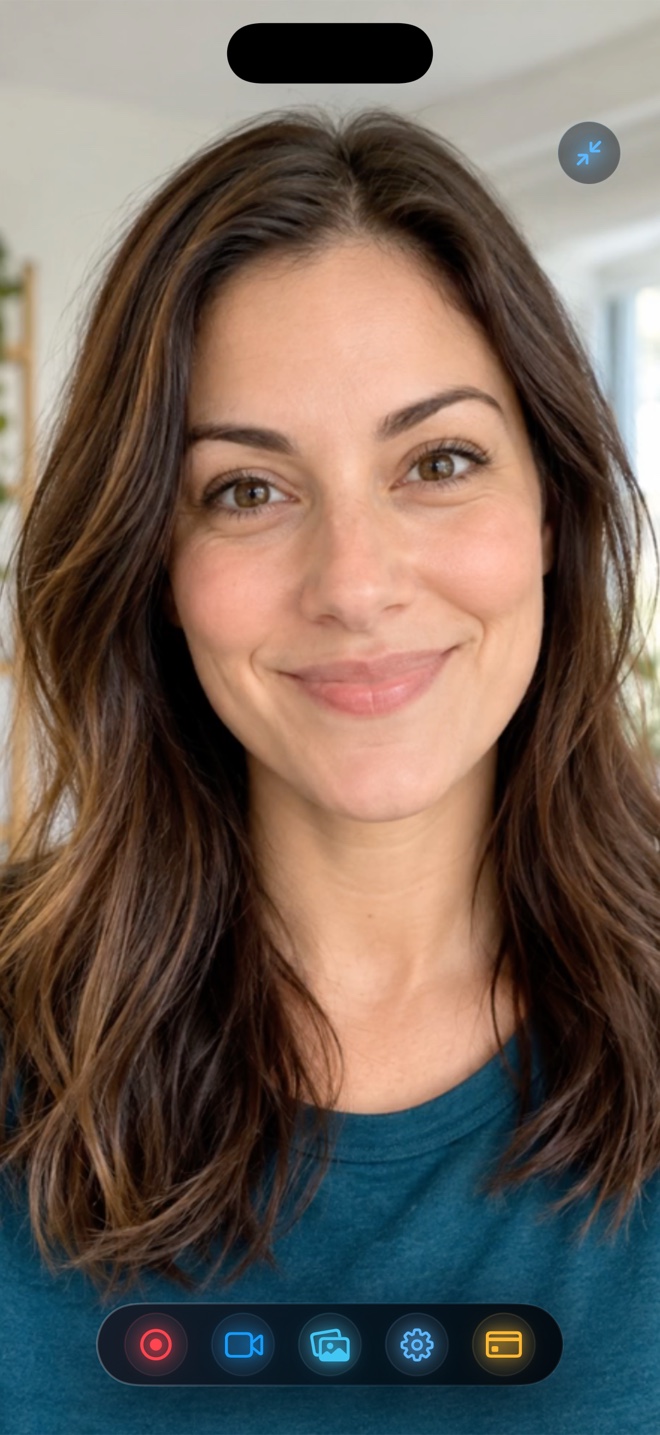
Blurring, Removing, or Replacing Your Camera Background in Tutorials
Hide messy rooms when recording tutorials on iPhone, iPad, or Mac. Understand on-device person segmentation, blur vs custom backdrops, and Picture-in-Picture background modes.
Read workflow guide →