| Approach | Devices Needed | Sync Effort | Live Eye Contact with App |
|---|---|---|---|
| Reel Broadcast + PiP Camera Overlay | 1 iPhone or iPad | Zero (recorded in one pass) | Natural—you react as taps happen |
| Stock Screen Recording + Second Camera | iPhone + second camera/Mac | Manual clap sync & NLE compositing | Split attention between two lenses |
| Voiceover Added After Screen Capture | 1 iPhone | Second pass in editing app | No facial reaction or presenter presence |
Why Ordinary Camera Apps Pause When Backgrounded
To protect battery life and user privacy, iOS suspends standard camera viewfinders as soon as an app leaves the foreground. That is why trying to record a mobile game, browser, or finance app while keeping a regular camera app open simply stops the video feed.
Reel pairs an iOS Broadcast Upload Extension (which records the full device screen across app switches) with a floating Picture-in-Picture presenter window that stays visible on top of other apps while you demonstrate them.
Setting Up a Single-Phone Screen + Facecam Take
Follow this sequence so the camera window is already framed and stable before your audience sees the target app:
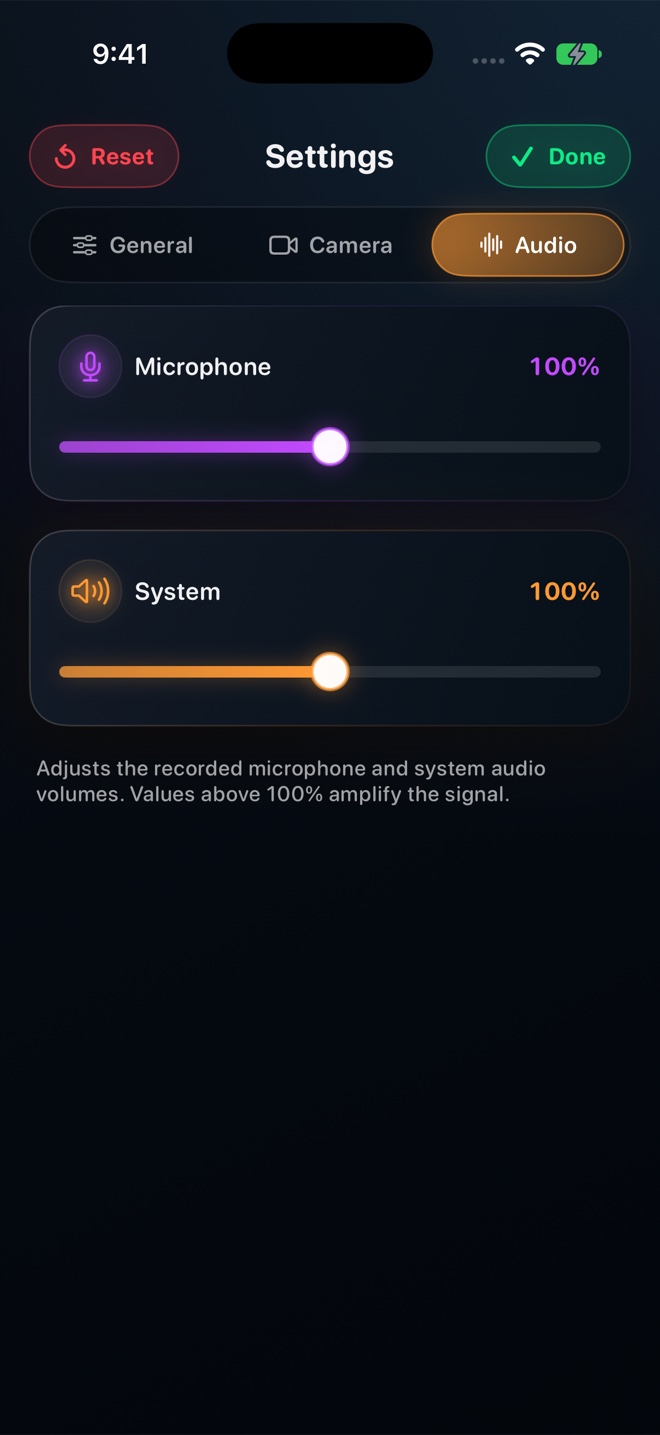
- Launch Reel Screen Recorder, grant Camera and Microphone permissions, and frame yourself in the Camera tab at arm's length with light in front of you.
- Choose your camera background treatment—natural room, subtle blur, or a solid/image backdrop (note that iOS PiP windows require an opaque frame rather than transparent alpha cutout).
- Start the broadcast session from Reel so both the screen recorder and floating PiP presenter window engage.
- Swipe to the iPhone app you are teaching, park the floating PiP bubble in a quiet corner away from navigation bars, and pause one beat before speaking so you can trim the app-switch cleanly if desired.
Moving and Resizing the Bubble Mid-Demo
Every mobile interface puts critical buttons in different places: Safari's address bar sits at the bottom, whereas many iOS navigation Confirm buttons sit top-right. Because iOS Picture-in-Picture snaps cleanly between corners with a quick finger drag, rehearse your key taps once and flick the facecam out of the way *before* opening a dense menu.
Pinching the PiP window lets you switch between a compact stamp during dense data tables and a larger presenter frame when summarizing your point.
Knowing Platform Boundaries Ahead of Time
Test your specific target app for ten seconds before filming a twenty-minute course module. Apps that take exclusive control of full-screen video playback or enforce DRM screen protection can dismiss Picture-in-Picture overlays or black out the broadcast frame. A quick rehearsal confirms both visuals and audio behave as expected.
Pre-Recording Checklist
Tick items before you start your broadcast—saved locally in your browser.
Common Questions
Can I move the facecam overlay while the recording is already running?
Yes. Drag the floating Picture-in-Picture window to any corner of the iPhone or iPad screen during the take, and the broadcast captures its new position live.
Does the free version of Reel include the floating camera overlay?
Yes. Recording your screen with the camera overlay at 480p, 720p, and 1080p is included in the free app; Reel Pro removes ads and unlocks Source (Native) pixel resolution.
Next Workflows to Read
iPhone Screen Recording Has No Sound? 7 Causes and Fast Fixes
Diagnose silent screen recordings on iPhone and iPad in under two minutes: broadcast mic state, hardware mute switch, audio session conflicts, DRM, and track settings.
Read workflow guide →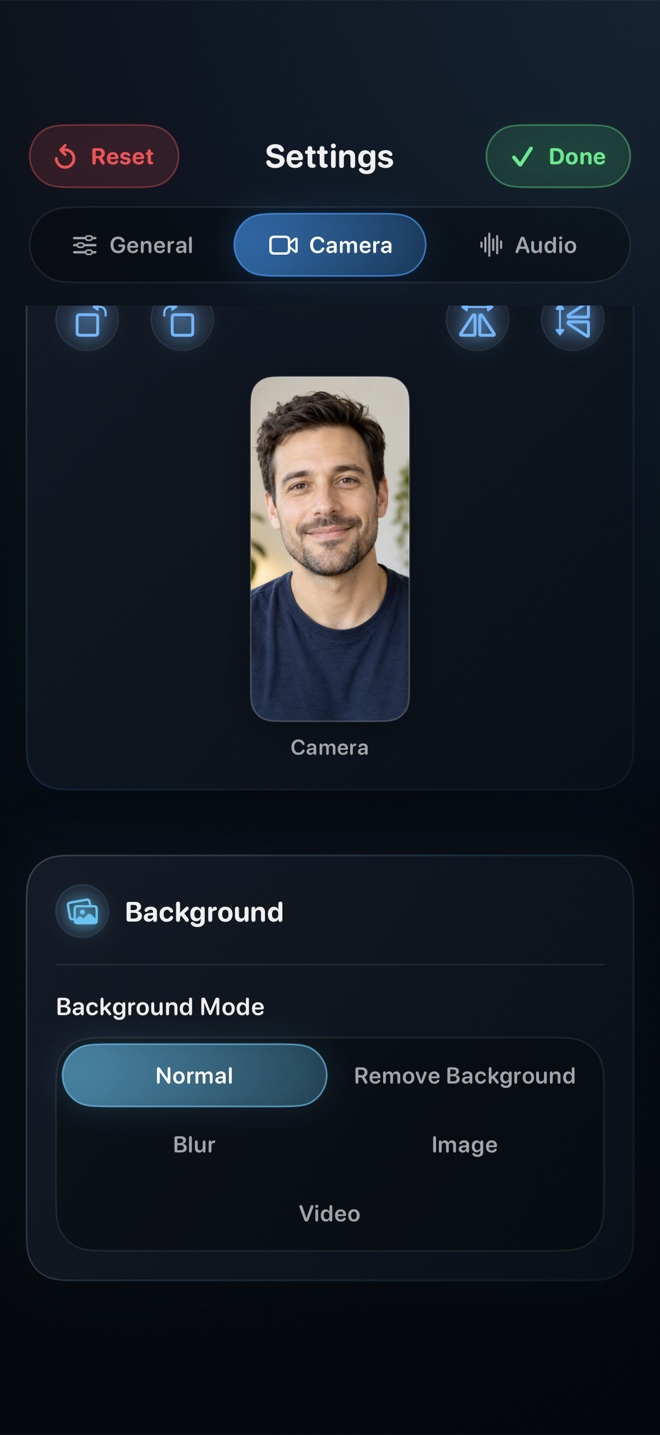
Recording Your Mac Display and Facecam Without Window Clutter
Record a clean macOS walkthrough with your face composited in frame, H.264 MP4 output, 30/60/120 fps options, and Reel's control window hidden from the capture.
Read workflow guide →