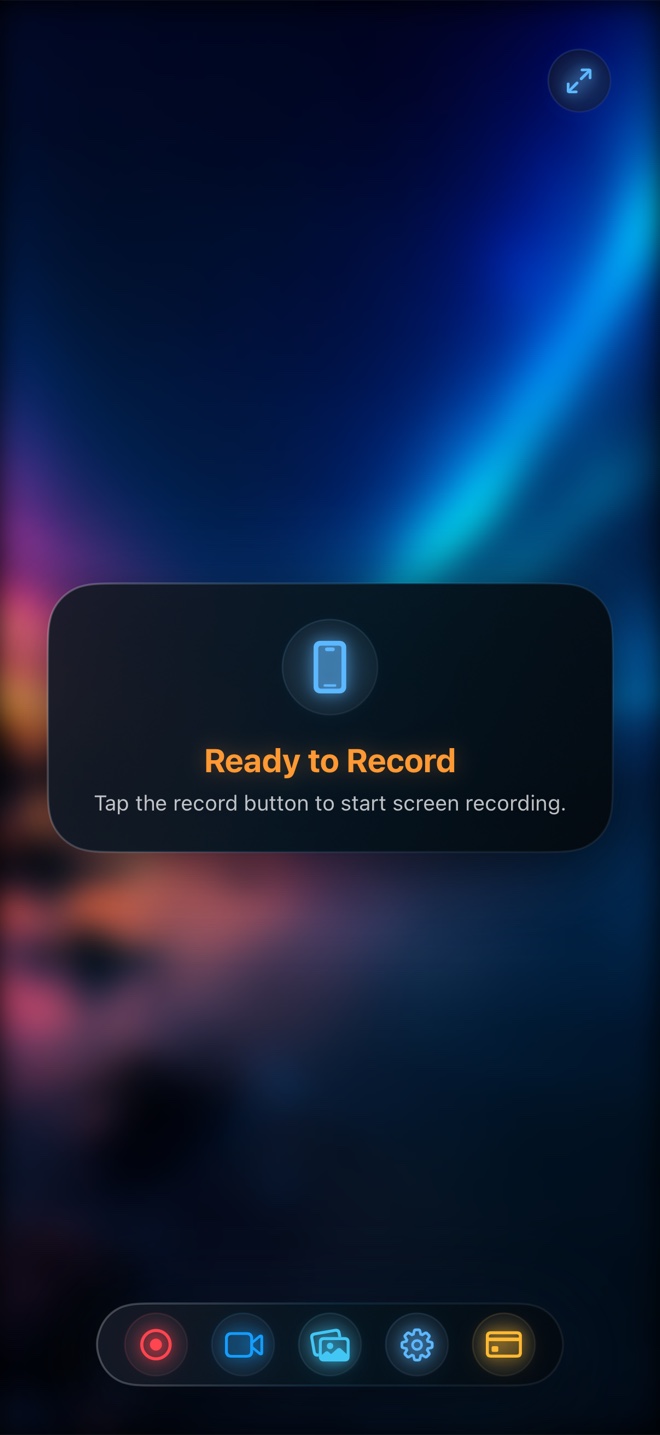
Pick Reel Screen Recorder for the **capture step** ($0 free up to 1080p; $14.99 lifetime Pro): CapCut cannot float a live Picture-in-Picture facecam over third-party iPhone apps or balance iOS ReplayKit app + mic audio during live screen recording. Pick CapCut after capture only when a clip needs burned-in auto-captions, jump cuts, keyframe zooms, or B-roll—and skip CapCut completely whenever a clean one-take MP4 from Reel is ready to post as-is.
| Workflow Stage / Feature | Reel Screen Recorder (v1.3.5) | CapCut (Mobile & Desktop) |
|---|---|---|
| Live iOS ReplayKit broadcast across third-party apps | Yes — core purpose on iPhone & iPad | No iOS cross-app ReplayKit broadcast extension |
| Live floating PiP facecam while operating apps | Yes — real-time Picture-in-Picture with background blur | Must film facecam separately or layer on timeline after |
| Live internal app audio + mic mixer during capture | Yes — independent gain/mute sliders; single or two-track MP4 | Edits audio tracks only after footage is already recorded |
| Mac display + webcam single-pass MP4 capture | Yes — ScreenCaptureKit, hide Reel window, 30–120 fps, `⌘R` | Desktop CapCut includes basic screen capture feeding timeline |
| Auto-captions, jump cuts, keyframes & transitions | No — zero timeline bloat; outputs clean MP4 immediately | Yes — industry-leading short-form timeline editor |
| Watermark & cloud privacy | Zero watermark; zero servers; 100% local files | Free tier clean on basic cuts; many auto-captions/effects now CapCut Pro |
Why Recording Screen and Face Separately Wastes Your Best Energy
Creators who rely on Apple's built-in screen recorder plus CapCut end up running a clumsy two-camera rig: prop a second phone or camera up to film your face, clap your hands to create an audio spike, import two gigabytes of footage into CapCut, pinch-zoom tiny waveforms to align lip sync, mask out your bedroom background on the timeline, and wait for an export.
When you record the source take inside Reel Screen Recorder, iOS composites your floating Picture-in-Picture facecam—with neural background blur already applied—and mixes your voice cleanly over app audio in real time.
When One Take Beats Over-Edited Jump Cuts
Hyper-edited 0.8-second jump cuts work for entertainment skits, but in software tutorials, developer updates, and educational lessons, constant cuts disorient viewers trying to follow where your cursor or thumb moved. A calm, well-framed one-take MP4 recorded straight out of Reel builds higher viewer trust and ships ten times faster.
| Metric | Reel Single-Take Only | Control Center + 2nd Cam + CapCut | Reel Capture → CapCut Captions |
|---|---|---|---|
| Files to manage & sync | 1 finished MP4 file | 2 separate video files + manual waveform sync | 1 pre-synced MP4 file |
| Audio separation option for CapCut/NLE | Optional two-track MP4 or balanced single-track | Separate files, raw unmanaged iOS game volume | Pre-balanced clean voice over app sound |
| Time to publish a 60s tutorial | ~65 seconds total | 15–25 minutes | ~3–4 minutes |
| Resolution support | 480p, 720p, 1080p (free) or Native Retina (Pro) | Native capture + CapCut export render | 1080p or Native Retina master into CapCut |
| Offline & account posture | 100% offline, zero account | CapCut sign-in / cloud sync prompts common | Local capture first |
The 3-Minute Hybrid Workflow for Short-Form Creators
When you *do* want burned-in captions for muted social feeds, use both tools for what they do best: capture the synced 9:16 Portrait MP4 with facecam and balanced audio in Reel (60 seconds), drop that single file into CapCut or Captions to generate subtitles and trim the first second (90 seconds), and post.
| Content Type | Recommended Workflow | Why |
|---|---|---|
| Price comparison | Reel ($0 free 1080p; $0.99/mo or $14.99 lifetime Pro) vs CapCut Pro (~$9.99–$19.99/mo) | Reel's lifetime unlock costs less than one or two months of an editor subscription |
| Async client demo, bug walkthrough, or course lesson | Reel Screen Recorder alone | Zero editing needed—record cleanly in one take and send the MP4 |
| High-retention TikTok / Reel with kinetic subtitles | Capture in Reel → Auto-caption in CapCut | Reel saves 15 minutes of camera syncing; CapCut adds captions in 2 minutes |
| Multi-track desktop grade in Final Cut / DaVinci Resolve | Reel (Two-Track Audio + Native Pro) → Desktop NLE | Delivers separate mic and app audio tracks at full Retina resolution |
Frequently Asked Questions
Can CapCut record other iPhone apps with a live floating facecam by itself?
No. On iOS, CapCut is a post-production video editor rather than a system-wide ReplayKit + Picture-in-Picture screen broadcast recorder.
Do Reel MP4s import cleanly into CapCut on iPhone, iPad, and Mac?
Yes! Keep Single-Track Mixed Audio enabled in Reel (the default) and your MP4 opens in CapCut with voice and app sound perfectly aligned.
Does Reel charge monthly fees for 1080p exports?
No—1080p MP4 export is completely free in Reel with zero watermarks.
Related Comparisons & Production Guide
Source Retina / 4K 60fps vs 1080p Screen Recording on iPhone & Mac
Compare Source (Native) Retina and 4K/60fps screen recording against 1080p MP4 on iPhone, iPad, and Mac: file sizes, social recompression, and NLE zoom clarity.
HEVC (H.265) vs H.264 MP4 Screen Recording on iPhone, iPad & Mac
Understand why iOS uses hardware HEVC (H.265) and macOS uses H.264 inside .mp4 screen recordings: file size savings, NLE compatibility, and `.mov` vs `.mp4`.